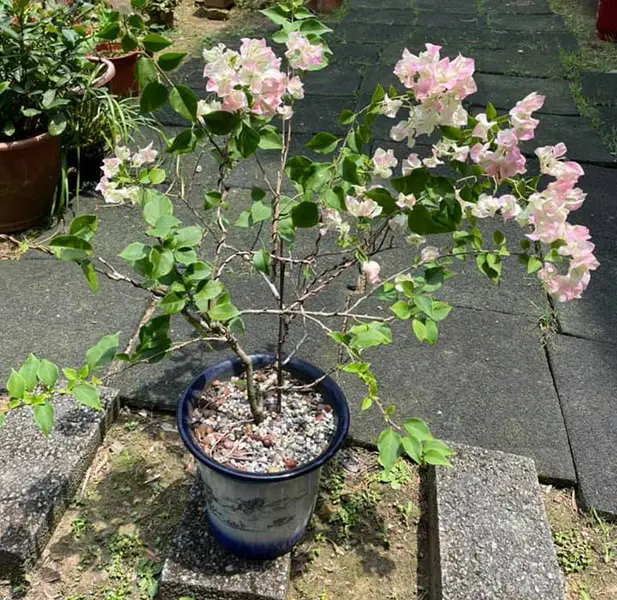
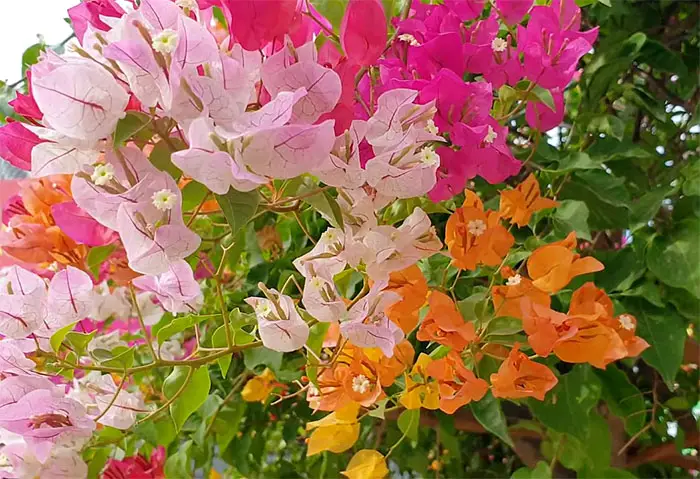
A few native species of paper flowers (Bougainvillea Glabra) have the ability to form seeds. The general varieties will have the flowers fall naturally after flowering. These types of varieties will not generate seeds at all.
For varieties that have seeds, you will be able to grow them from seeds. However, for those that didn’t generate any seed, the only way for you to grow them will be through propagation.
There are many ways that you can use to propagate paper flowers.
1. Simple Way of Propagating
If you see a paper flower you like, you can easily propagate it by cuttings or layering. This way, you can ensure that you get the same plant as the original one.
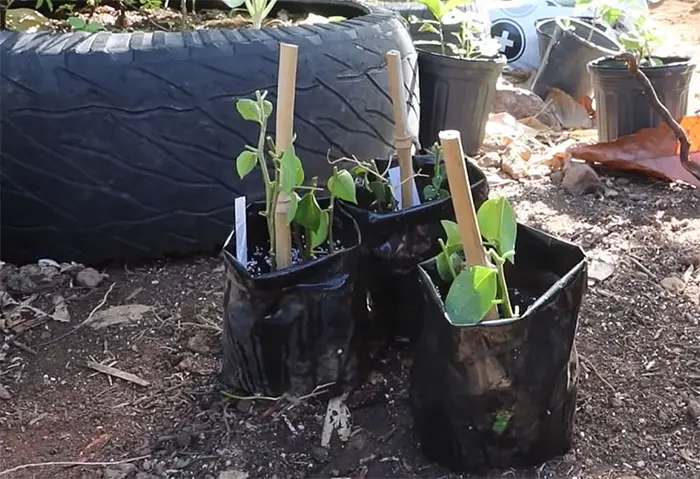
When cutting, cut out a new branch about three inches long, dip the rooting hormone (or rooting powder) on the lower part, insert it into the moist potting soil, maintain the high temperature and humid air, and it will root soon.
The layering is simpler. Choose a branch, cut an edge, and don’t break it. Spread rooting agent on edge, then bury it in the soil with a rock on it. Soon there will be roots at the incision. When the roots grow to an inch or more, you can plant them in pots.
2. Air Layering Propagation
Potted paper flower plants with thick stems are more beautiful, but the thicker branches are not easy to root. Therefore, if the diameter of the paper flower stems got 30 mm, you can use the layering propagating method.
The layering method is the best way to propagate paper flowers with thick stems. But the propagation may not be so effective.
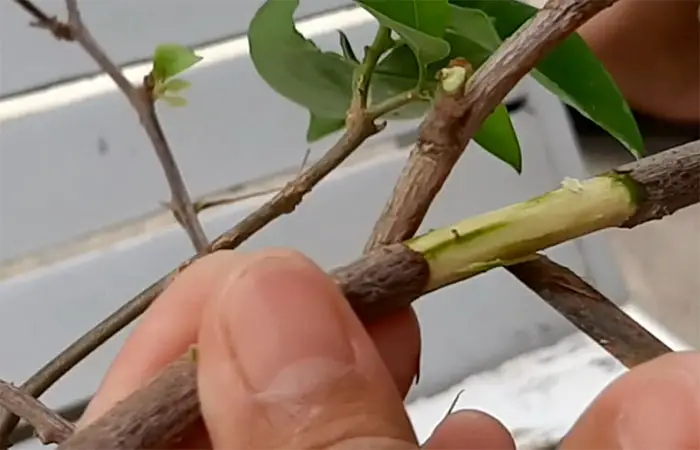
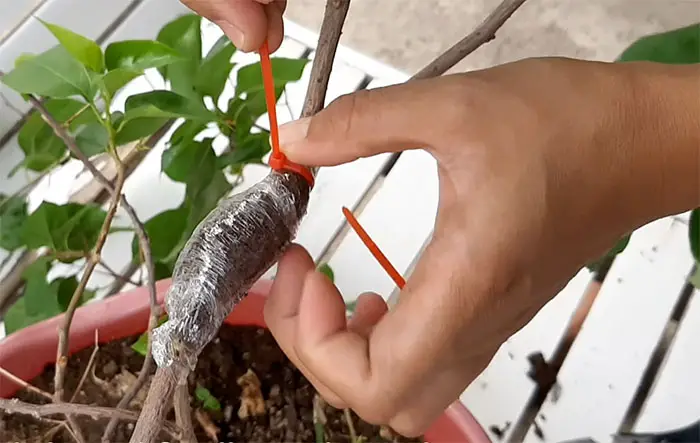
You can use a cutter to cut a small part of the skin of the branch by circling it. Remove the skin. You will see a green flesh of the branch. Cover the cut area with soil, then use the plastic bag to pack the soil and cut area. Use a rope or cable tight to tighten it up. Leave it for 30-40 days.
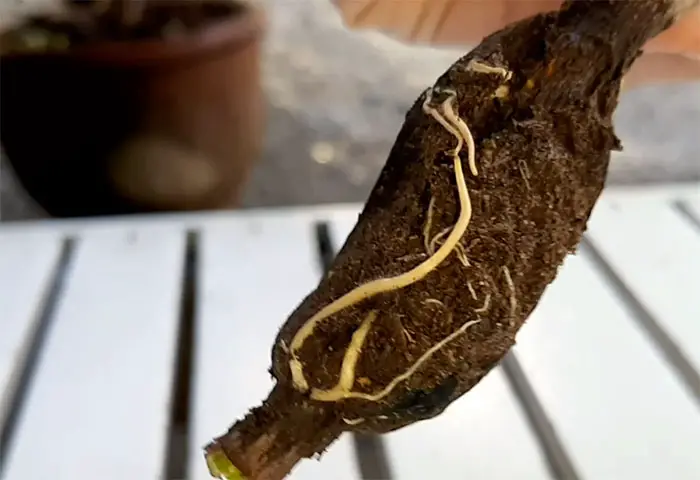
Use a cutter to cut off the branch. Remove the plastic bag. You can see the branch is rooting. Get a pot, put the branch into the pot, and fill the pot with 50% vermicompost, 30% native soil, and 20% coconut peat.
Place the pot outdoor somewhere that it can receive full sun. Water it from time to time.
3. Propagate From Cuttings
Propagate paper flowers from cuttings is the most common method being used by most gardeners. Generally, gardeners will get the cuttings that are come from the open field.
Paper flowers tend to has long branches that are drawn out in summer. After slow growth in winter, the branches will become mature.
The next spring is the best time to grow thick and long branches. When do the cuttings, it is necessary to prevent rain and use a shed to cover 50-60% of the sun.
For paper flower cuttings with a stem diameter of 5 to 15mm, you should use a pot with a diameter of 3.5-inch to 6-inch. The thickness varies with the size of the pot. The cutting length is between 5-10 cm.
For paper flowers larger than seven inches, The cuttings used are leggy branches with a stem diameter greater than 15mm, and the cutting length is between 12-17 cm.
When cutting the branch, you need to use a sharp knife to cut the cuttings with one cut in an oblique manner. Ensure the cuttings are cut with a smooth surface which is beneficial to the cuttings to propagate later.
To avoid dehydration and wilt the cuttings, the lower leaves of the cuttings should be completely cut off, and the upper leaves can also be completely cut off, or you can keep 3-4 leaves.
Dry the cuttings for 3-5 hours which can reduce the chance of disease infection. Apply rooting agent to the cuttings before propagating, which can effectively promote the roots and increase the survival rate of cuttings.
The potting mix should preferably be light, clean, and soilless with excellent physical and chemical properties, such as peat soil or vermiculite.
The cutting effect of these two potting mixed in equal volume is quite stable. Adding some river sand is also a good choice. The depth to go into the potting mixed is about two-fifths of the length of the cuttings.
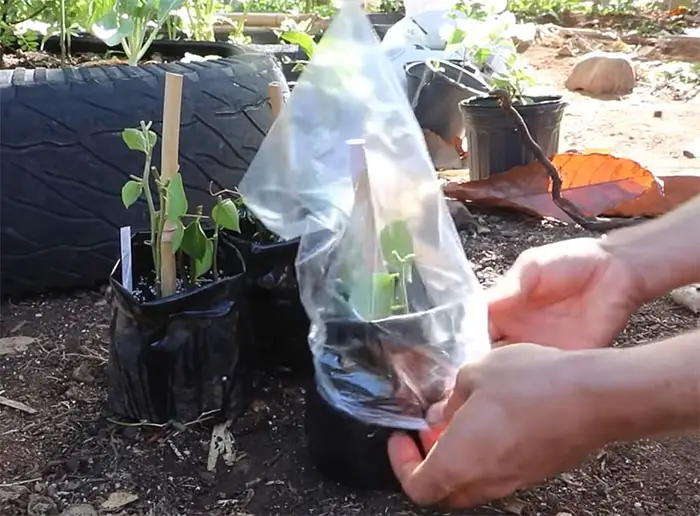
You can use plastic bags to cover and seal the pot to prevent water evaporation and maintain high humidity in the air, which will help to improve the survival rate of the cuttings.
You can take the plastic bag off within 7-10 days. After shoots, transplant it to the pot as soon as possible. You can use indole butyric acid to promote the rooting of the cuttings during cutting propagation.
4. Grafting Propagation
Grafting propagation is often used in the following two aspects:
- Graft poorly-growing rare varieties (such as most variegated or two-color varieties) to varieties with good terroir adaptability (such as light-leaf or purple-flowered species) to improve the growth characteristics.
- Bonsai-style planting can change the original flower color or graft different flower colors to the same plant to have a rich color expression when it blooms.
Most of the grafting propagations are being conducted in spring and autumn. The grafting methods can be roughly divided into three categories: cut grafting, bud grafting, and docking method.
The current grafting method of the paper flower is mainly cut grafting, and the actual method can be divided into two types:
A. Tender shoot grafting
The tender shoot grafting method is suitable for the stem diameter of the scion and the rootstock to be similar. The tender tip, which is in the state of vegetative growth, is used as the scion.
After fixing the joint with a rope, wrap the grafted part with a transparent plastic bag to keep it moisturized.
The outside of the plastic bag is covered with a piece of paper for a little shade to prevent the environment in the plastic bag from heating due to direct sunlight. This can increase the survival rate of grafting.
In this method, you can remove the external paper in about 7-10 days to know whether the grafting is alive. If it has survived, you can remove the plastic bag cover in about 15-20 days. The tender shoot grafting method has a higher survival rate, but the subsequent growth can be weaker.
B. Hard branch grafting
The hard branch grafting method is suitable if the difference between the diameter of the stem and the rootstock is large. The scion must choose the mature branch born in the same year, and the lateral bud of the branch has not yet germinated.
The diameter is recommended to be about 5-7 mm, and the length is about 5 cm. Those with 2-3 nodes are scion, and you should remove the leaves of the scion during grafting.
After the base of the scion is sharpened, it is grafted on a rootstock branch with a similar stem diameter by split grafting. The joint is fixed with a rope and then a transparent plastic bag to wraps the grafted part to keep it moisturized.
The outside of the plastic bag is covered with a piece of paper for a little shading to prevent the environment in the plastic bag from heating due to direct sunlight, which can increase the grafting survival rate.
In this method, you can remove the transparent plastic bag in about 7-10 days to know whether the grafting is alive. If it has survived, you can remove the plastic bag cover in about 15-20 days. The hard branch grafting method has a poor survival rate. But once it survives, it has a high percentage to grow strong.

