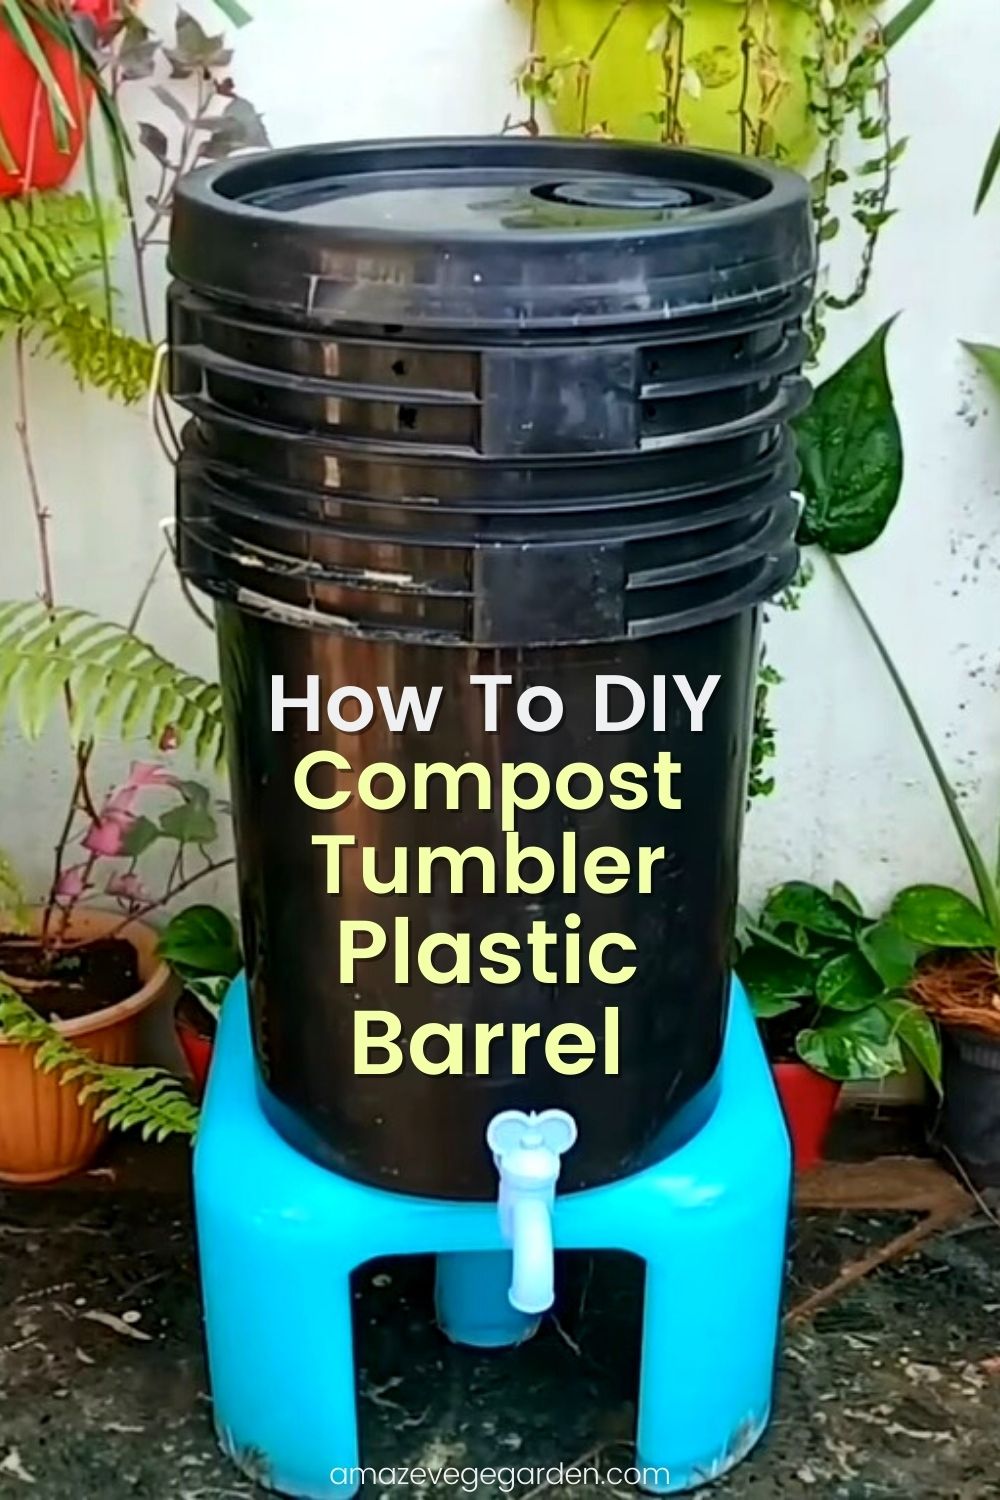
I love to make myself as many garden tools as I can if I can DIY myself. I always think it is better to make garden tools by myself because by doing so, I will be obvious on what materials I am using to make the tools.
Personally, I hate turning gardening into a money-burning game. Many gardening tools are selling at insanely high-priced. I feel quite uncomfortable being strangled by those big companies that only think of making money from the poor gardeners.
There is no exception for the compost tumblers. There are many different compost tumblers, bins, containers, or barrels available at the market. The price can cost you a lot. Therefore, you’ll be better off if you can make one by yourself.
If you have no idea how to make one, do not worry much. I’m here to share with you the simple and easy step-by-step on making a simple yet convenient compost tumbler.
Little Concern About Composting
Before we start, I would like to share something you need to know what to avoid regarding composting.
The biggest problem with composting tumblers is whether there will be a chemical reaction between the tumbler and the waste & water produced by the compost, and even whether the harmful substances in the container will penetrate the fertilizer.
So, to avoid letting any harmful substances mix into the compost, you will need to be careful and filter them out before putting them into the compost tumbler.
Step-by-Step on How to Build A Simple Compost Tumbler
Buying a ready-made compost tumbler is too expensive, and it may also be inappropriate. You may spend a lot of money on buying a compost tumbler and later figure out it is not suitable to be used in your garden. End up. You will waste a lot of money and getting something that is not right for you.
To save money, you can go and buy a cheap plastic barrel and convert it into a compost tumbler. Without further ado, let me start to share with you how to DIY a compost tumbler.
Material that you need to prepare beforehand are:
- Plastic water barrel
- Faucet
- EVA foam
- Steel plate/Metal fin
Tools Needed:
- Hand drill
- Blade
- Cutter
When buying a plastic barrel, you should pick those with dark colors. Black is the ideal color. This is because microbial fermentation requires heat, so it is best to use a dark barrel because it is easier to absorb heat from the sun. The barrel temperature will increase when it is exposed to the sun. This can greatly improve the efficiency of fermentation. However, if you can’t get a black color one, you can still buy the barrel and paint it black.
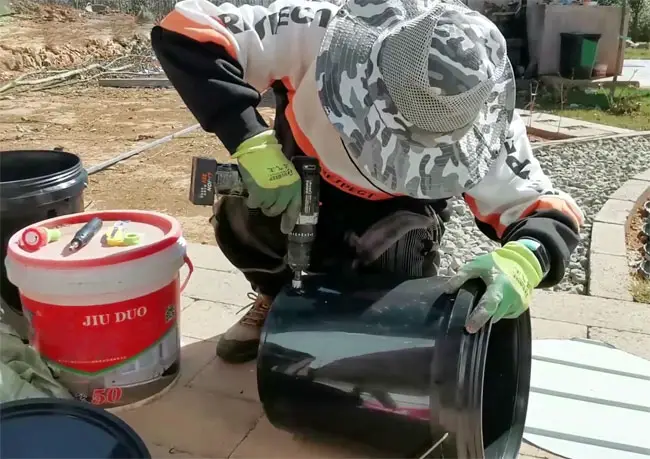
First, use a hand drill to drill a hole near the bottom of the bucket.
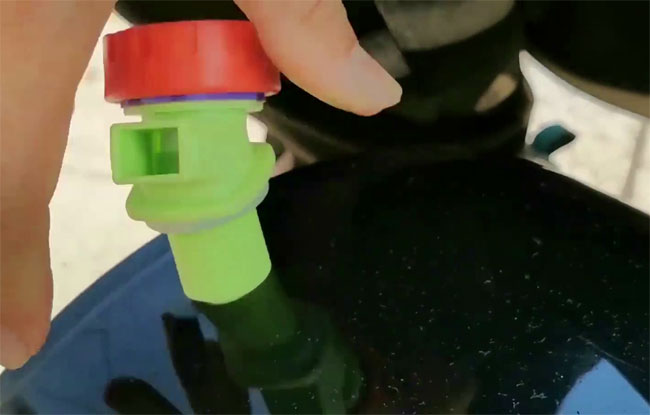
Once complete drilling the hole, get a faucet and fit it into the hole.
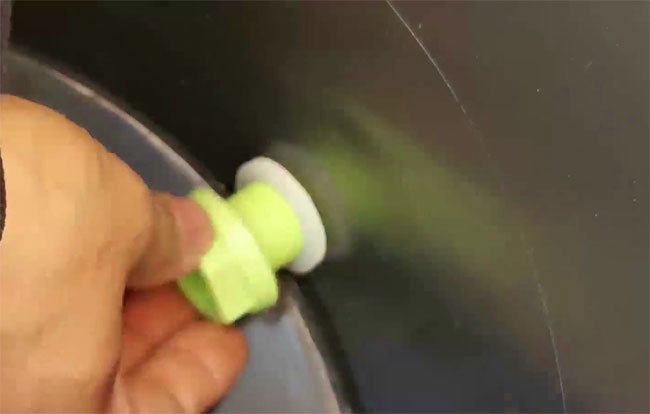
Then, tighten the faucet so that once the fermentation is complete, the fertilizer can flow out through the faucet once it is turned on.
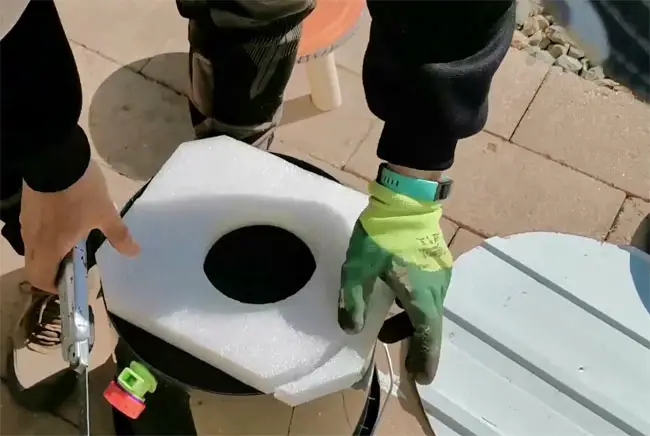
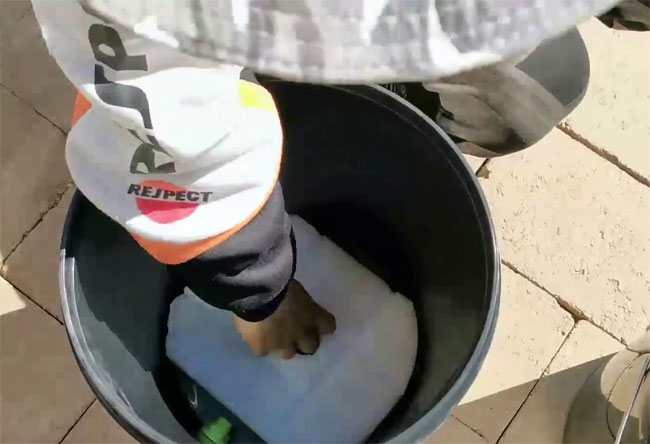
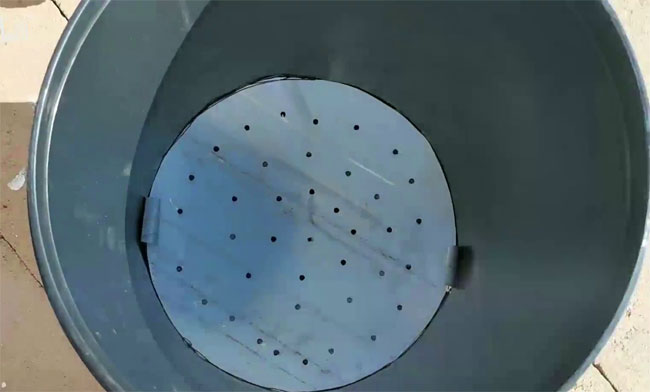
Get a filter screen and put it at the bottom of the barrel. The purpose is to prevent food waste materials from blocking the outlet of the faucet.
The material used to pad the filter needs to be stable, corrosion-resistant, and lightweight.
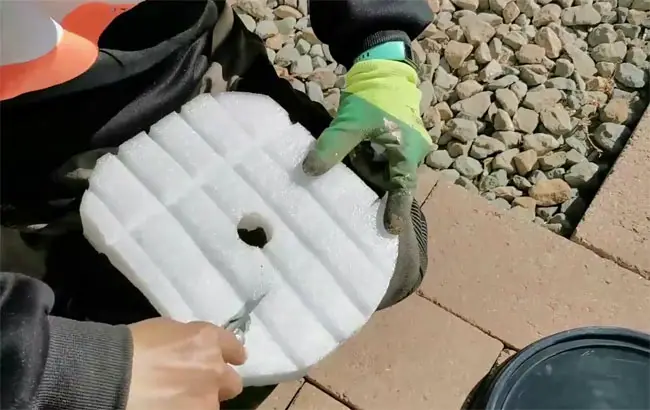
I am using a foam that I got from a delivery box that I received. If you can find an EVA foam, you can also use a plastic tray.
For the foam that I use, I will dig some channels for the fluid to flow back.
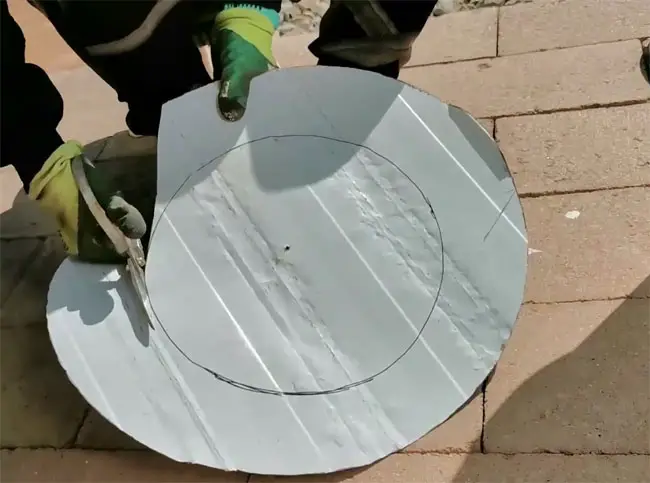
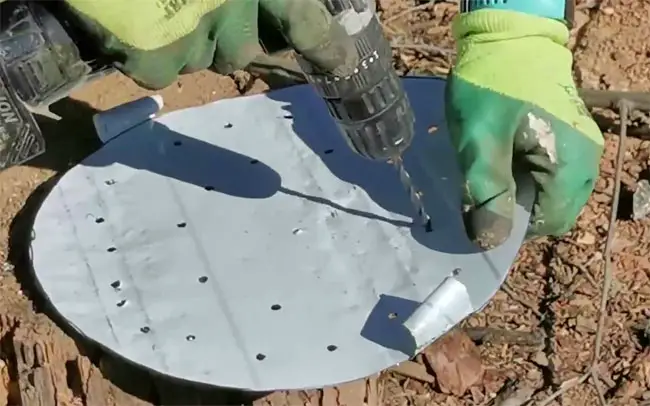
Generally, a fine wire mesh is used to make the filter. But to save money, I am using the leftover steel plate that people use for house building to make the filter.
It is not leveled, so I have to knock on it to make it flat and cut it to the right size.
Then, I drill some holes in the steel plate. Finally, place it into the barrel, and everything is done.
Try Out the New Compost Tumbler That I Make
After the work is done and a new compost tumbler is made, it is time to try it out and see how it works.
Now I can start to make my compost in the compost tumbler that I make.
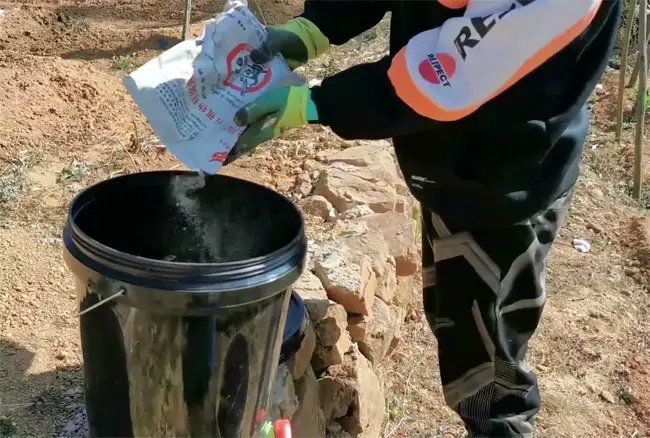 This is a fermented strain which is called Bacillus subtilis. It can generate a ton of materials.
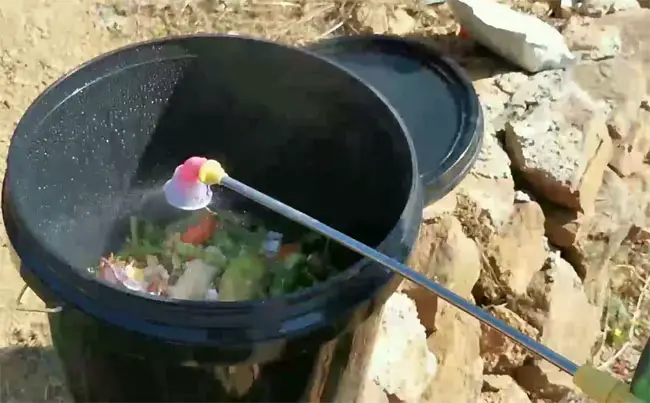 Spray some water to moisten the material but don’t get too wet or drown the bacteria.
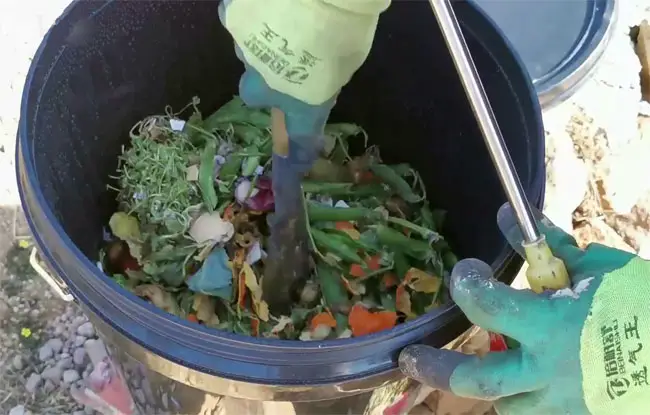
Stir it well, and then cover it up.
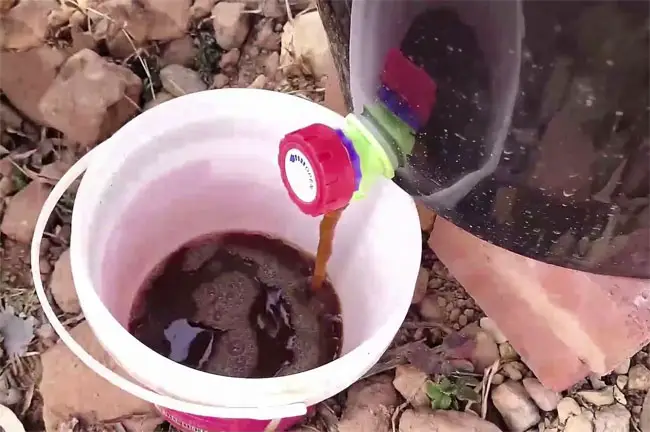
After 3 weeks, I try to open the faucet, and the compost water is starting to flow. Now I can use it for the plants in my garden.
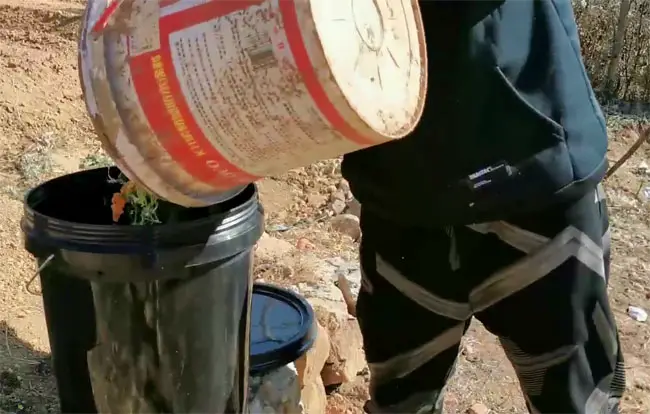
I have the compost pile in my garden that enables me to make the compost that I need. There is a lot of kitchen material I have been busy with every day.
My daily kitchen waste may consist of various vegetables, onion, celery, fruits, eggshells, beef, chicken, weeds, leaves, pine needles, etc. All these are the material that I normally put into my compost tumbler.
So for the DIY compost tumbler, the entire project is very inexpensive and just cost me below $50. For the water barrel, I got it at $20 from my local hardware store. If you can’t find one at your local store, you can also get one from Home Depot, Costco, or Walmart. The price is meager compared to buying a ready-made compost tumbler.
When you have made your compost tumbler, ideally, you should place it somewhere to get sun. You should avoid placing it at any shading area so that the compost can be baked.
If you need a compost tumbler for you to make the compost for your garden, you may follow what I have been sharing with you here. I hope this can provide a little help to you.
Did you find this post useful? Would you like to get back to it later? Save THIS PIN below to your DIY and compost garden boards on Pinterest! Thanks 🙂
